


If there was smoke you'd be able to see it - No smoke at the top of the chimney and the wood stove?

Still cranking - this is through the front air vent - with the door closed. You can't see it but there's BLUE flame inside! That means I'm getting a clean secondary burn due to the baffle (that forces the smoke back into the fire). So after talking to the owner of this wood stove business - he and I both agreed that it is best to have HOT and short burn times - so I kept the front vent fully open and I have NO damper! But since I have a 30 degree angle on the duct pipe then I still get any heat off the duct into the hut.


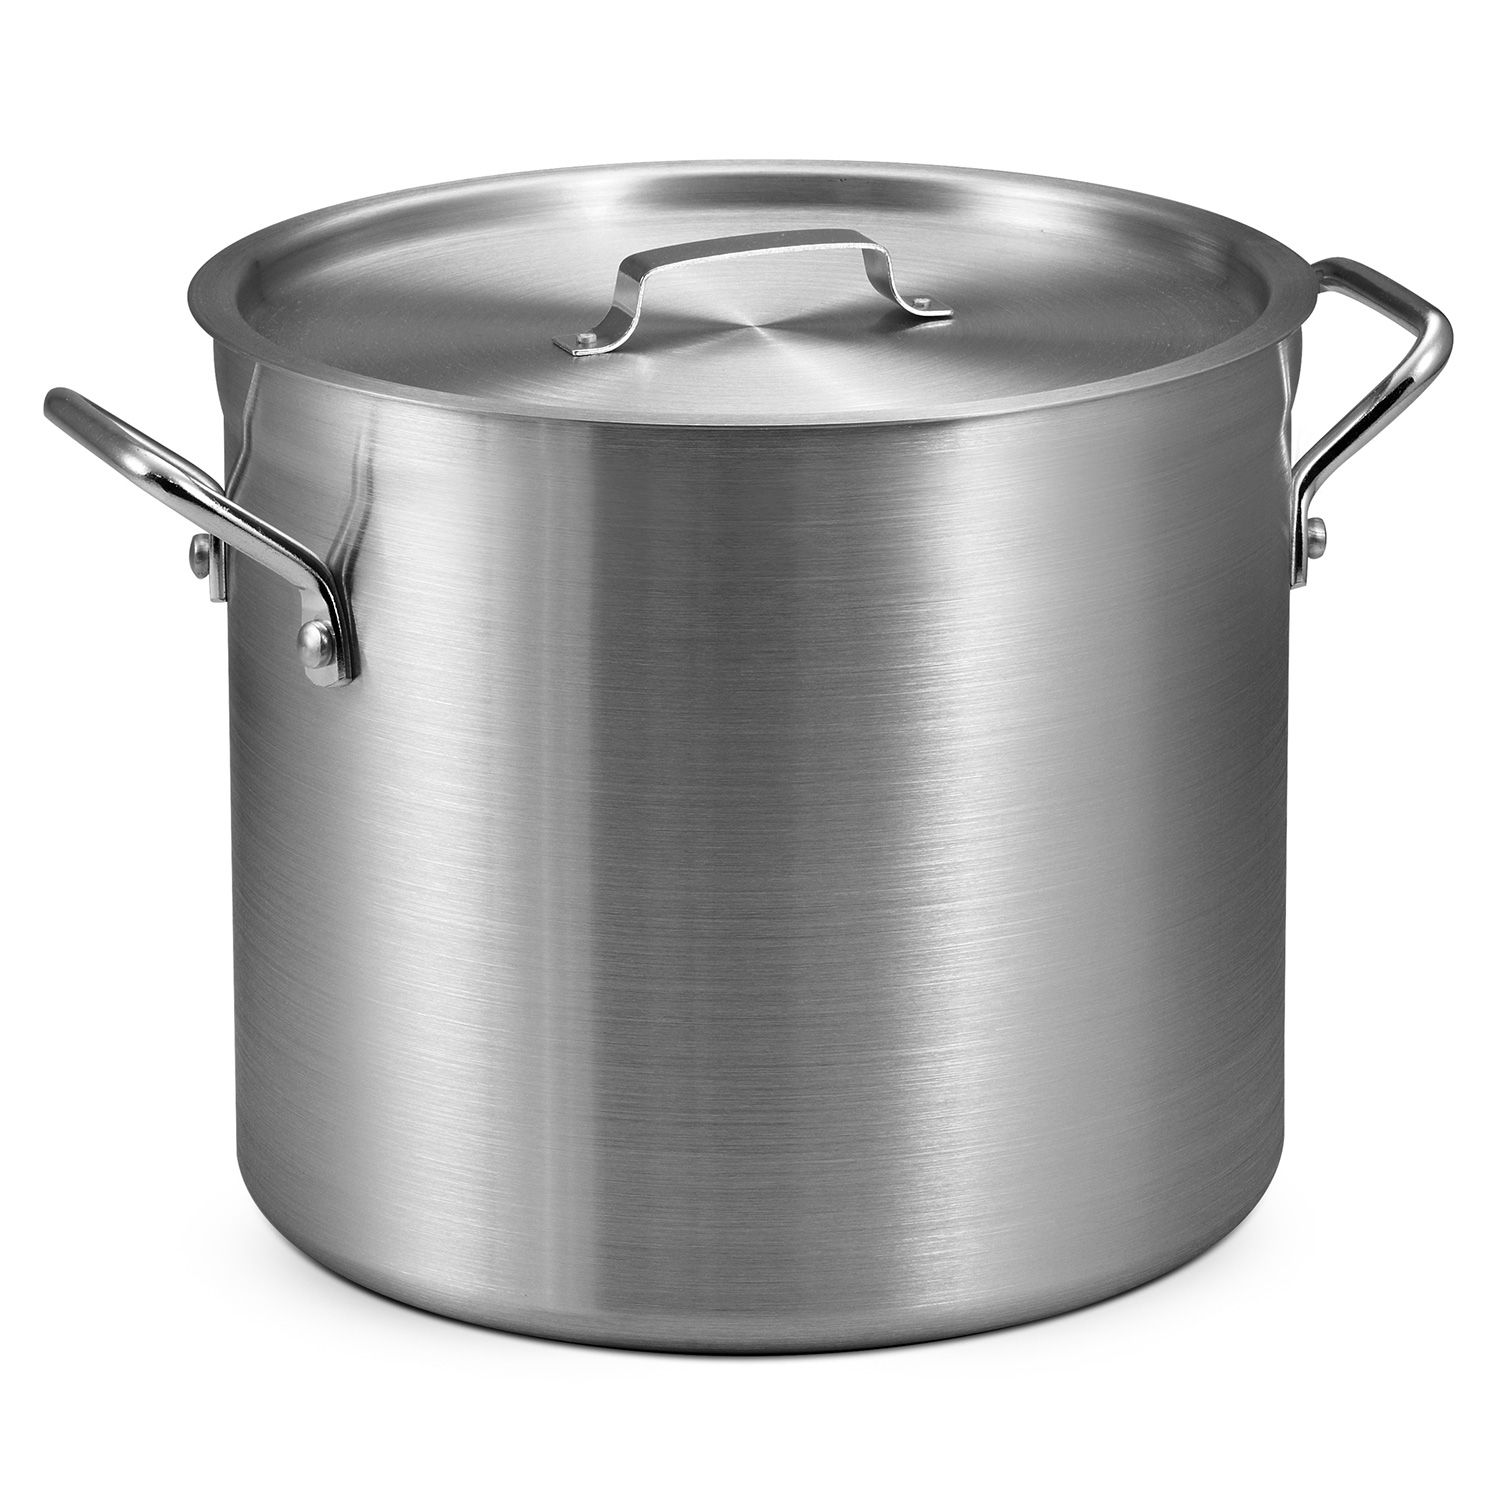
So then I put a huge pot of water on top of the stove - I'd guess it was four gallons?

So our local corporate-state newspaper had an article promoting the Golden Tamaracks at this time of year.
So I took these photos from the car on the drive up.

The evergreens are probably Spruce. The Tamarack is a conifer that looses its needles. The chipmunks love to eat the seeds - as do the birds.

So despite have trepidation about my 30 degree angle - instead I got a very amazingly strong draft and a clean burn with no smoke!! So I do not think I'll get much creosote build up - if I keep burning with the same tactic. The stove kicked out tons of heat and the water pot stored up the heat, along with the bricks. I didn't boil the water - as I did not want to boil the water. But it did start steaming after a two hour burn.
So then I put another load of rock wool ($25) on the south end wall since that was just OSB (Oriented Standard Board) and then on the north wall I had some holes in the wall that were hiding behind the wattle (willow branches).
Because rockwool fibers are short and thick, the body can easily expel them....Mineral wool is a heavier and more dense insulation material that fiberglass, giving it better sound-control properties and more effectively restricting air movement through it.
So this morning I got blue jeans (Green Fiber) that are shredded - as insulation ($6.50) and so I stuffed the Green Fiber in behind the wattle and in the cracks in the wall. then I had to use the loppers to cut some of the wall wattle going vertical as it was propping up the tarp too high. Basically I had lots of holes on the north wall! Good thing I had that ventilation as the stove was still curing the paint fumes off a bit.
So then I splashed clay water (clay slip) onto the blue jeans (shredded as Green Fiber) - to fire proof the cotton fiber with clay covering.
GreenFiber Insulation is a cellulose insulation that consists of 85% recycled paper, mostly recovered, post-consumer paper fiber that contains additives for fire and fungal resistance...Green Fiber and National Fiber are just 2 U.S. manufacturers treat their product with borates which, from what I gather, is pretty benign stuff.

Here's the Hermit Hut hidden in the mini-forest - you can see the chimney up higher than the roof.
So I'm very glad I insulated the chimney to ensure I get a good draft.
The hammock is not the best to do full lotus padmasana meditation on. But if I fold over in half the insulated sleep pads plus my comforter - then I can sit on top of those. And with the wood stove cranking out - I could bask in the heat!! And also I had some tummo internal heat kick in (after I cleared out the lower body of course). So I can just do standing active meditation right by the toilet and be comfy in the heat and make some humanure compost and cover up with wood ash. Then I can meditate in full lotus.
Since I got free bricks, free wood, some free cushions - and harvested most of the insulation and walls from the Mini-forest (hay and willow branches) and framing (willow trees) - so an uninsulated shed this size would be at least $2000. Since I don't have floors and I have tarps as roofs this is arguably more like a tent - but it also has super insulated roof (r-30 rock wool plus three sil-poly canvas tarps) and walls (r-20 aka 6 to 8 inch straw-willow wattle) - using rock wool and the Bronze Age wattle and daub design. So what's the price on a good living Hermit Hut? hard to say!! But including the stove cost - then I spent about $1000 (including gas money).
The previous Hermit Hut blog post
Yes part of my concern was how hot the duct pipe would get next to the tarp. The burn rate on the tarp is 500 degrees Fahrenheit but the chimney is insulated with rock wool and then another metal heat reflector duct pipe (8 inches) around the rock wool. Plus it's outside. So it was barely warm at all. In fact the chimney duct pipe on the INSIDE was "touchable" going towards the wall side. So with it being a larger (increased to 6 inches) you get more heat release off the duct pipe before it hits the wall. But since it's insulated on the outside - it just needs to be over 212 Fahrenheit (boiling) temp to prevent any creosote build up.
No comments:
Post a Comment