OK so I mentioned the "popping" of the chimney duct flue. Luckily it held - I welded it along the seam and along the connection to the extender out of the wood stove. First of all here is the beginning of the Popcorn Tin Bucket backing tent wood stove.
I "peened" the edges of the cut - and so it's a pretty tight fit. I need to pull out the stove pipe for transporting purposes.
Here's an Alaska DIY Peening vid for a similar wood stove bucket
More of an overhead shot.
another close up of the tight seal. One of these shots shows a crack in the seam.
There is the "hole" - but I think it still might be tight enough - as there hangs down some metal underneath from the peening. I can try putting some welding seam.
So then I snipped this out from a free Barbeque grill that was part of a Free Craig's List score. I went just for the tent listed and he was moving with his wife - retiring to a smaller place. So he gave me a couple back packs and a home made grill stove that is just for outdoor use.
close up of the tools used so far - that sculpture hammer works well for peening.
OK now back to the Hermit Hut.
A close up of the weld that split open from the hot exhaust pressure!!
So that's the widest part of the split - but I think there's another half inch of duct pipe still in there connecting and holding the exhaust in.
I could see no smoke - and there would definitely be smoke if it was leaking. You can see from the above image - there's still quite a bit of crimp area left.
And that gray matte on the duct pipe is from the oxidized zinc - meaning it got over 450 degrees fahrenheit.
So it didn't make any more popping sounds - even though I had quite a bit of wood loaded.
Another close up of the split weld. As I typed in the last blog post - I could push it back and try drilling it closed - but then the pressure would build up again - trying to "force" it free again. It's due to the angle of the stove pipe. So I'd rather not be fitting the pressure of the angle - in case it wants to then force the pressure out another part of the duct pipe. As long as it's not leaking - I could try putting on more weld. I just need to find the stuff! I'm not sure where I put the left over stove pipe weld (did I throw it out?).
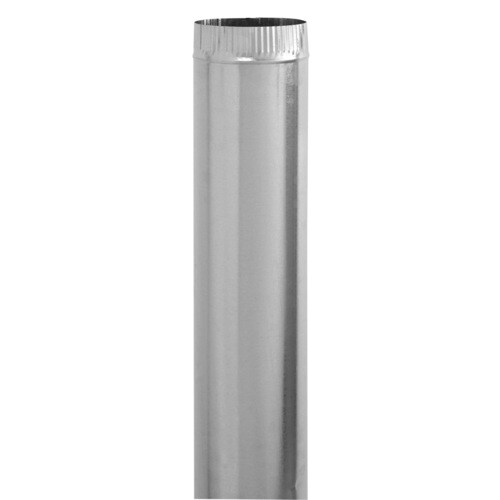
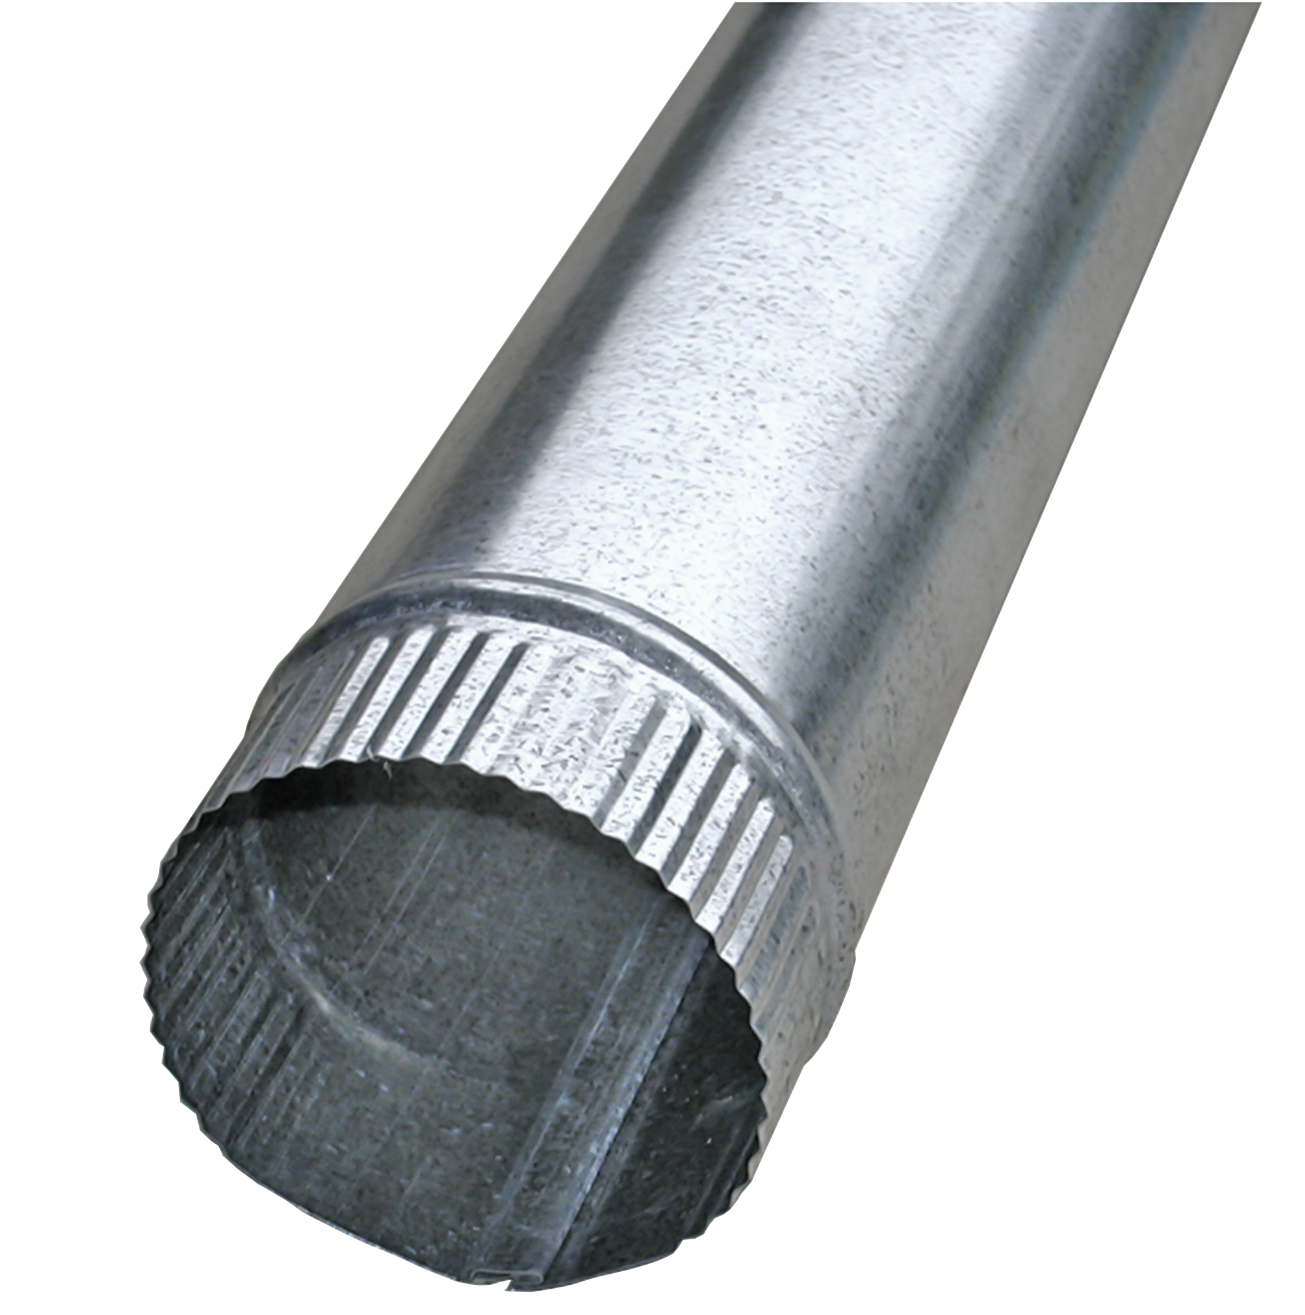
Stovepipe Anchor Screws: ALL single-wall vent pipe should be screwed together at each joint with a minimum of 3 screws. #8 x 18 x 1/2", self-drilling HEX head screws with a black oxide finish.
What I can do is replace that section with black stove pipe - which has built in screw holes - and is stronger pipe.
I think I used up one tub and I didn't use the tub - and it was only $5 - so I might have not saved it.
So now I need to make a door for that backpacking tent stove - and so more inside protection grill parts. I can cut out more metal from the Barbeque for the door. I need to buy some hangs and bolts for the door - with washer.
I'll get a one gallon coffee can to put inside the popcorn tin bucket - to protect the walls and floor - and then put in the grill hole iron bits in the coffee can.
Homemade STEEL CAN Rocket Stove! - The "BIG CAN" Rocket Stove! - Awesome Stove! - Easy DIY
Homemade TIN CAN Rocket Stove - DIY Rocket Stove - Awesome Stove! - EASY instructions!
So the idea is to use two cans - inside the popcorn bucket tin - so that the secondary air rises up around the heated inside stove - that is insulated. So there is no need for a top opening as secondary air to burn off the exhaust fumes....
1/2 DIY how to build a wood, portable tent emergency stove under $40 easy project with basic tools.
So I should get that 3 inch flue connector - as shown in vid.
My Winiarski Rocket Stove from a popcorn bucket vid
5. DIY 5 gallon bucket stove v.2 burn test
DIY Woodstove Instructions - Step by Step


No comments:
Post a Comment